If you paid for the Interserver hosting package, you must have one of the four possible choices: Cpanel, CloudLinux, Direct Admin, and Plesk.
You can check our Interserver Review article and see that InterServer is a legitimate hosting company.
VISIT INTERSERVER - GET FREE TRIAL

How do you install WordPress on Interserver using Cpanel?
To install WordPress on InterServer using cPanel, you can follow these steps:
- First, log in to your InterServer cPanel account.
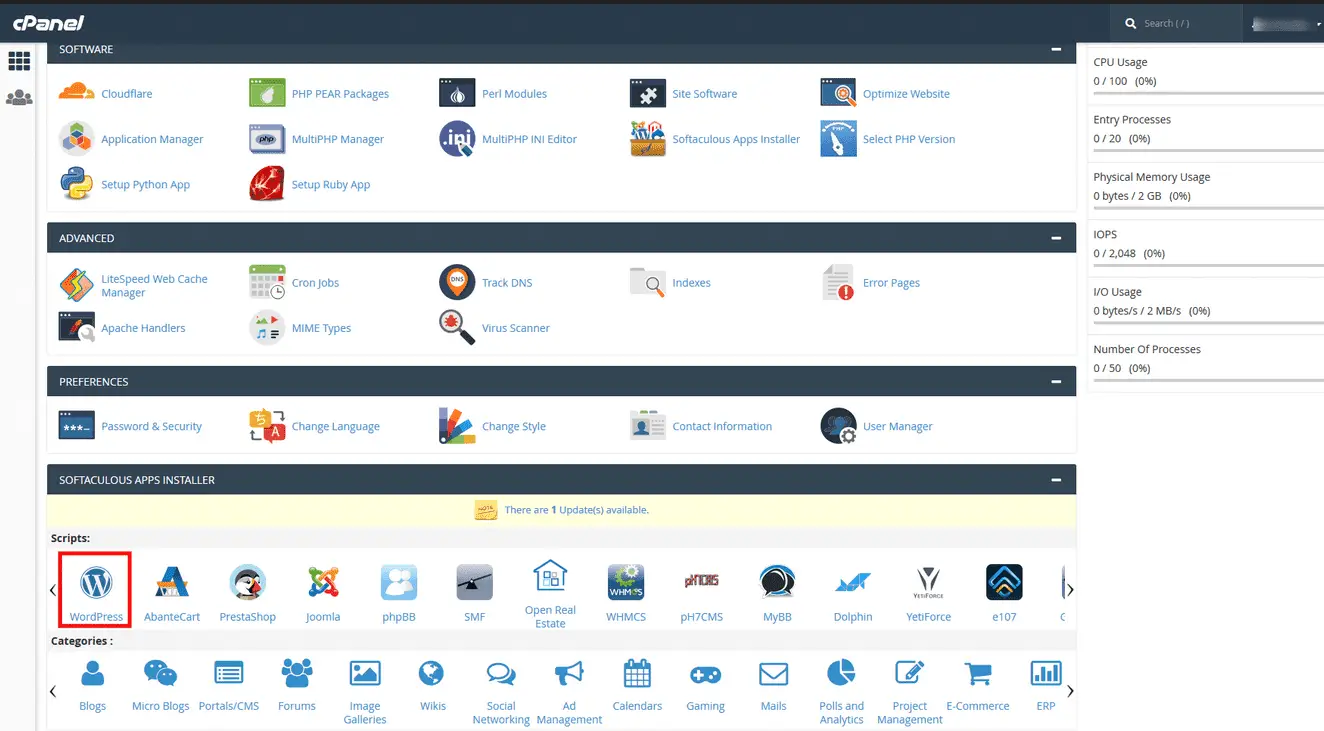
- Scroll to the “Software” section and click the “Softaculous Apps Installer” icon.
- On the Softaculous Apps Installer page, click on the “WordPress” icon.
- Click on the “Install” button to start the WordPress installation process.
- Fill in the details for your WordPress installation, such as the domain name, admin username, and password.
- Choose the language you want to use for your WordPress installation and select any additional plugins or themes you want to install.
- Scroll to the “Advanced Options” section to configure your database name and table prefix. You can also choose whether or not to enable automatic backups and updates.
- Once you’ve entered all the necessary information, click the “Install” button to complete the installation process.
- Softaculous will install WordPress on your InterServer hosting account, and once the installation is complete, you’ll be redirected to a confirmation page.
- You can then log in to your new WordPress website by going to your domain name followed by /wp-admin (e.g., yourdomain.com/wp-admin) and entering the admin username and password you created during installation.
See the image for how to install WordPress in Instaserver’s Cpanel:

How do you install WordPress on Interserver using Plesk?
To install WordPress on InterServer using Plesk, you can follow these steps:
- First, log in to your InterServer Plesk control panel.
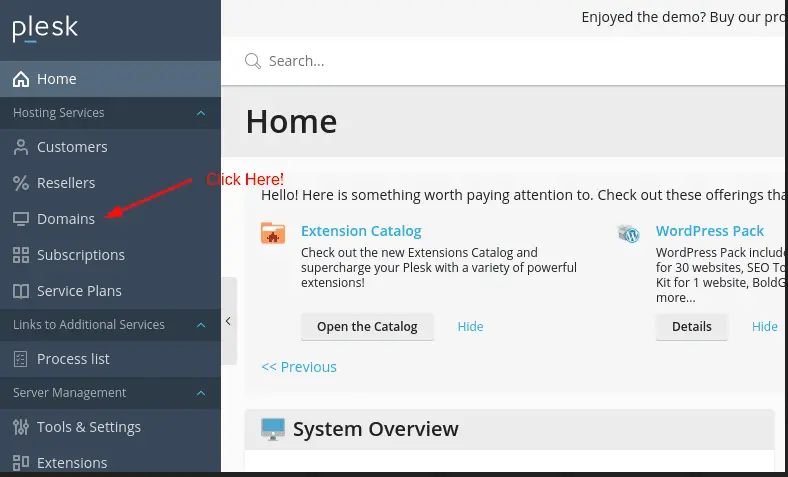
- Click on the “Websites & Domains” tab at the top of the page.
- Click on the domain name where you want to install WordPress.
- Scroll down to the “Web Applications” section and click the “WordPress” icon.
- Click on the “Install” button to start the WordPress installation process.
- Fill in the details for your WordPress installation, such as the website name, admin username, and password.
- Choose the language you want to use for your WordPress installation and select any additional plugins or themes you want to install.
- Scroll down to the “Database” section to configure your database settings. You can choose to create a new database or use an existing one.
- Once you’ve entered all the necessary information, click the “Install” button to complete the installation process.
- Plesk will install WordPress on your InterServer hosting account. Once the installation is complete, you’ll be redirected to a confirmation page.
- You can then log in to your new WordPress website by going to your domain name followed by /wp-admin (e.g., yourdomain.com/wp-admin) and entering the admin username and password you created during installation.

That’s it! You’ve successfully installed WordPress on InterServer using Plesk. You can now start customizing your website and adding content. If you encounter any issues during installation, you can contact inter server’s support team for assistance.
How do you install WordPress on Interserver using CloudLinux?
To install WordPress on InterServer using CloudLinux, you can follow these steps:
- First, log in to your InterServer CloudLinux control panel.
- Click on the “WordPress Manager” icon.
- Click on the “Install” button to start the WordPress installation process.
- Fill in the details for your WordPress installation, such as the website name, admin username, and password.
- Choose the language you want to use for your WordPress installation and select any additional plugins or themes you want to install.
- Select the database settings. You can choose to create a new database or use an existing one.
- Once you’ve entered all the necessary information, click the “Install” button to complete the installation process.
- CloudLinux will install WordPress on your InterServer hosting account. Once the installation is complete, you will be redirected to a confirmation page.
- You can then log in to your new WordPress website by going to your domain name followed by /wp-admin (e.g., yourdomain.com/wp-admin) and entering the admin username and password you created during installation.
How do you install WordPress on Interserver using DirectAdmin?
To install WordPress on InterServer using the DirectAdmin panel, you can follow these steps:
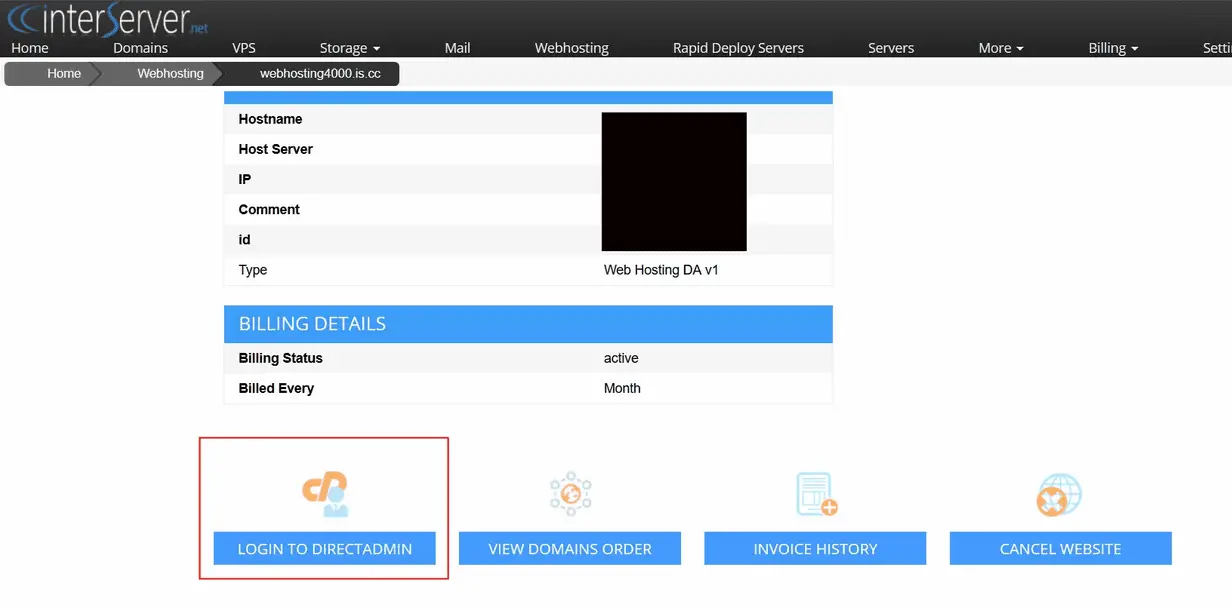
- First, log in to your InterServer DirectAdmin control panel.
- Click on the “Advanced Features” tab at the top of the page.
- Click on the “Installatron Applications Installer” icon.
- Click on the “WordPress” icon in the left-hand menu.
- Click the “Install this application” button to start the WordPress installation process.
- Fill in the details for your WordPress installation, such as the website name, admin username, and password.
- Choose the language you want to use for your WordPress installation and select any additional plugins or themes you want to install.
- Scroll down to the “Database” section to configure your database settings. You can choose to create a new database or use an existing one.
- Once you’ve entered all the necessary information, click the “Install” button to complete the installation process.
- Installatron will install WordPress on your InterServer hosting account. Once the installation is complete, you’ll be redirected to a confirmation page.
- You can then log in to your new WordPress website by going to your domain name followed by /wp-admin (e.g., yourdomain.com/wp-admin) and entering the admin username and password you created during installation.

Interserver free coupon code
Use this free hosting coupon code to get a discount at Interserver: nimblefreelancer2023
To visit the website, go to the link below and then use the hosting coupon code:
VISIT INTERSERVER - GET FREE TRIAL
- Facebook Ads to Get Followers! - December 27, 2024
- ClickUp vs. Slack - December 20, 2024
- Mastering E-Commerce Analytics: A Blueprint for Success


