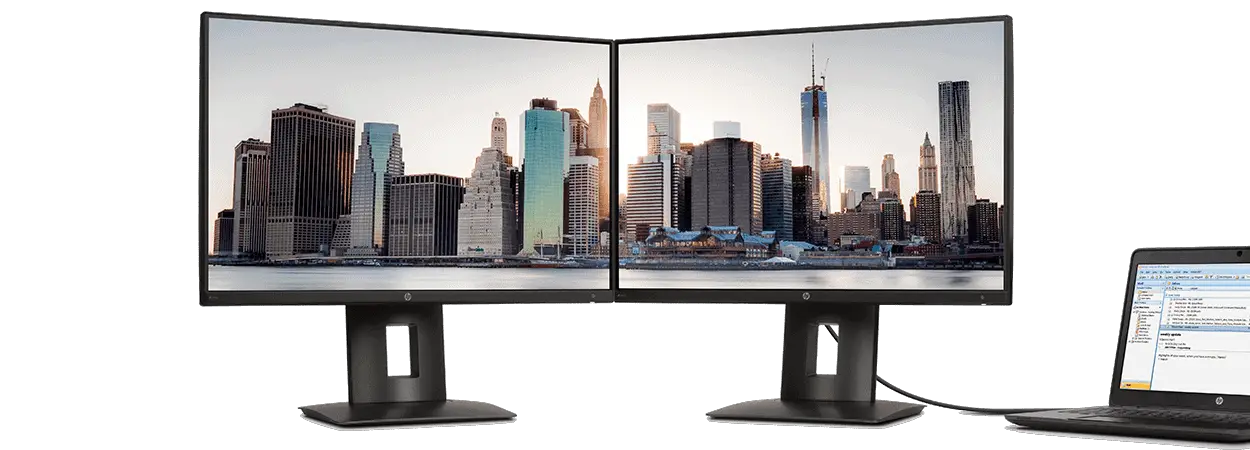
If you want to expand your laptop’s capabilities, adding dual monitors can be a great way to do it. Connecting two external monitors to your computer doubles your workspace and increases productivity. However, it’s important to note that not all laptops are designed for this setup. Before attempting the process below, ensure your computer supports dual monitor output.
Learn How to Change Mouse Direction on Dual Monitors in our article.

How to Set up Dual Monitors with Laptop?
- Identify your laptop’s video-out port options. Examples include DisplayPort, HDMI, USB-C, or Thunderbolt ports. If you’re using multiple external displays with a computer, you’ll need a video card with more than one video-out port.
- Purchase compatible monitors for your laptop. Choose higher-end monitors with technical specifications that match the monitor’s capabilities and the laptop’s video out port type.
- Connect cables from the external monitor to your laptop. Depending on what type of ports your computer has available, use a corresponding cable(s) (HDMI, DisplayPort, USB-C, etc.) to connect the external monitor to your device.
- Download your computer’s necessary drivers or software updates to ensure optimal performance with dual monitors.
- You can adjust where each display is located onscreen. By default, it is to the right of the main display. To adjust this placement option, go into Display Settings in the Control Panel and move the boxes around when prompted until you achieve the desired configuration setup that suits you best.
- After connecting them successfully, you can configure display settings for personal preferences such as brightness levels and resolution on both the laptop and secondary monitor individually, if needed.
- Set up extended desktop mode if desired by enabling ‘Extend these displays’ found in Windows 10 under Advanced Options after going into ‘Display Settings.’ One of the two screens would become a primary display with this mode. In contrast, another secondary screen can be used as an extension. It could give extra space for multitasking or just viewing extra/more extensive content at once without having to switch between windows or tabs all the time manually.
- If needed, opt to enable Mirroring Mode – which is quite helpful when trying to present content across multiple devices such as projectors – by going into ‘Display Settings’ again like before, but this time choosing ‘Duplicate these displays’ instead while adjusting scaling options accordingly afterward so everything looks proportionally correct on both displays without any issues happening later due to different resolution sizes between them at all times during usage of dual monitors setup with a laptop computer!
Additional comments:
The first step in setting up dual monitors with your laptop is connecting the two external displays to your computer. Depending on your monitor type, this will involve using either an HDMI cable or a VGA cable. If your laptop has both an HDMI and a VGA port available, you’ll need two cables—one for each display. It would help if you connected the HDMI cable to your primary display and the VGA cable to the secondary display.
Once you’ve connected both external displays, turn on them and your laptop. Once everything is powered up and running, open the “Display Settings” window in Windows 10 (or whichever version of Windows you have). Here, you can adjust various settings regarding how the multiple displays will be laid out on your desktop.
One important thing to remember is that most laptops are limited in terms of how much power they can provide to other devices through their ports; this means that some older models may not be able to support dual-monitor output at maximum resolution or refresh rate levels. Therefore, if possible, try adjusting these settings to get more performance from each display rather than running them at full resolution or refresh rate settings simultaneously—this will ensure optimal performance from both monitors while being easy on resources like power and memory usage.
Once you have everything set up according to what works best for you and what fits within the limitations of your particular hardware setup, click “Apply” to save all changes made so far and make them take effect right away without needing a reboot. After doing this, your external monitors should now be active and functional! You can further customize the appearance of each display using additional options found within Display Settings, such as scaling level or orientation (portrait vs. landscape), which allows you to fine-tune how each panel looks relative to one another when used side-by-side together!
In conclusion, setting up dual monitors with a laptop is quite simple once you understand precisely what needs to be done. With just an extra monitor (or two!) connected via either HDMI or VGA cables, along with some basic adjustments done within the Display Settings window in Windows 10 (or whichever version), any user can easily take advantage of increased productivity through leveraging multiple displays for multitasking purposes! Just remember that some laptops may not be capable of providing enough power for optimum performance from both displays simultaneously, so bear that in mind when setting things up accordingly!
- Facebook Ads to Get Followers! - December 27, 2024
- ClickUp vs. Slack - December 20, 2024
- Mastering E-Commerce Analytics: A Blueprint for Success


