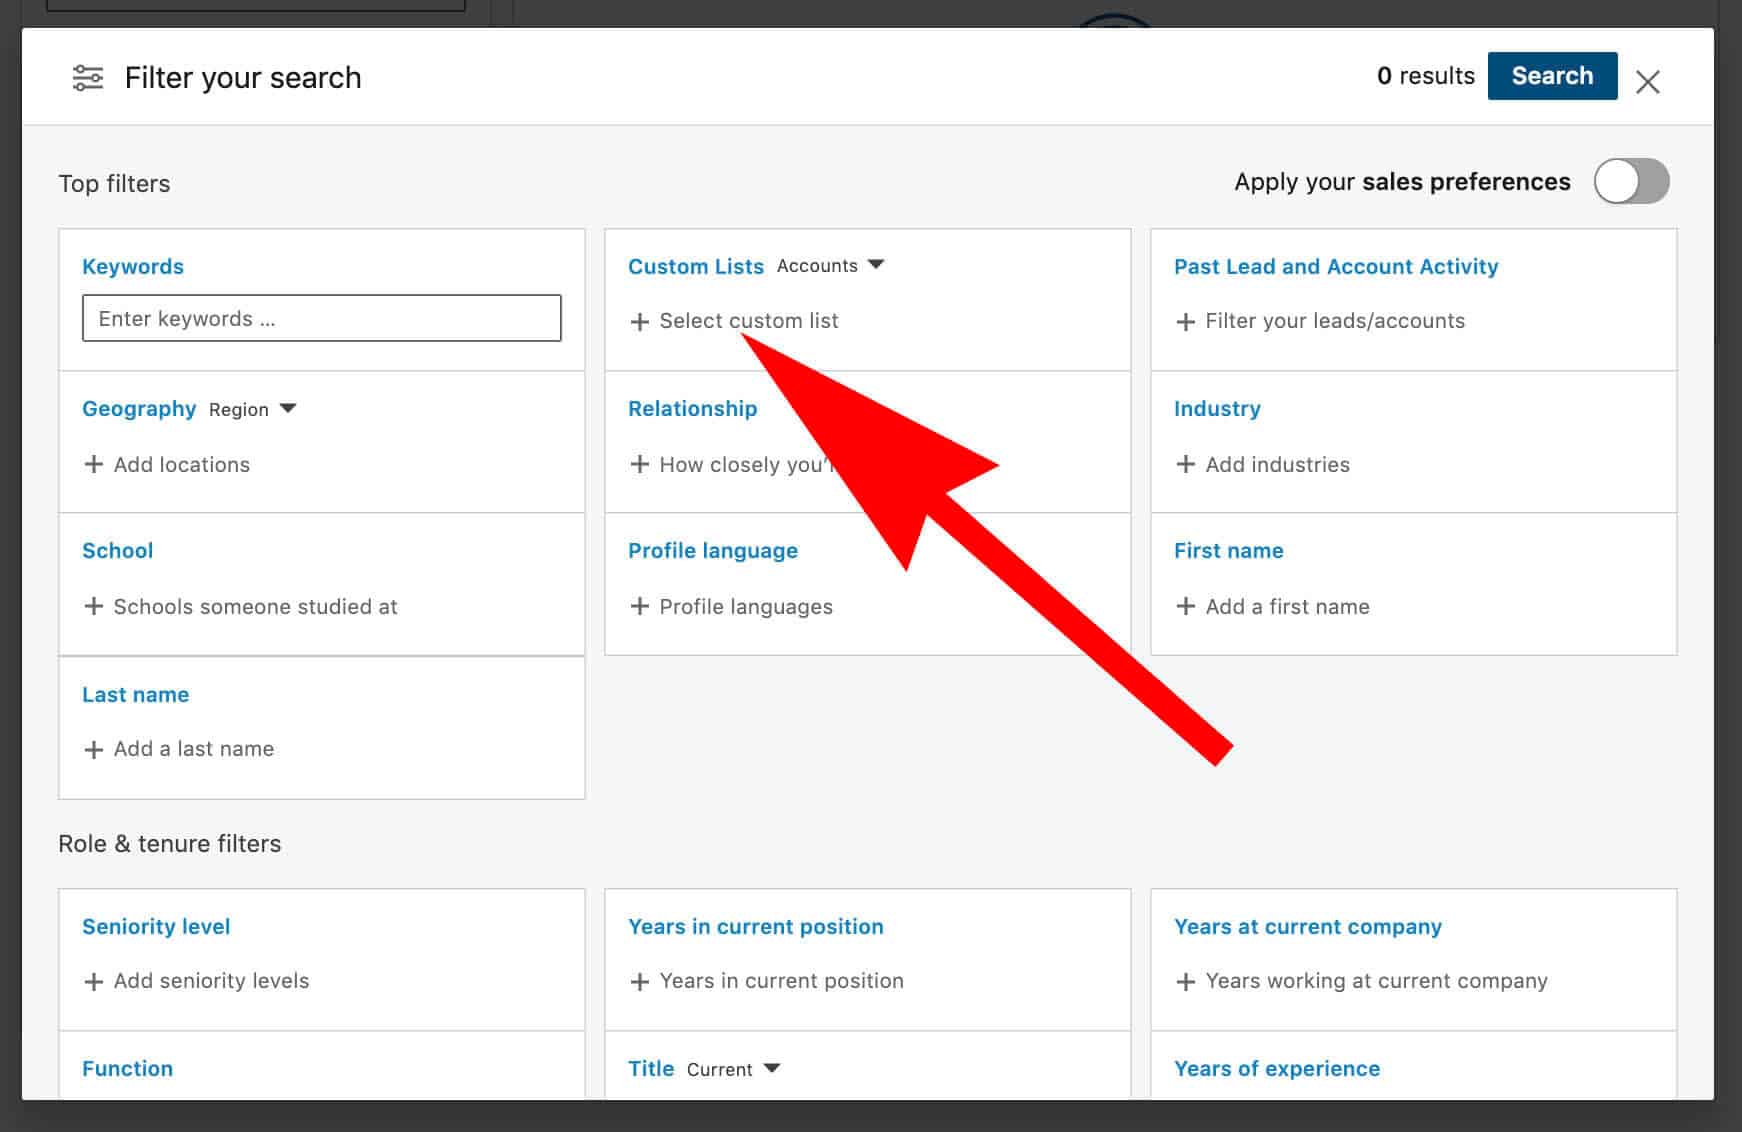
LinkedIn Sales Navigator is a powerful tool for sales professionals and business owners looking to advance. With Account List, users can organize their contacts into lists based on specific criteria, making it easier to track and manage leads and prospects.

The main benefit of using an Account List is that it lets you focus on the contacts most likely to convert into customers or clients. You can segment your contacts based on factors like job title, industry, location, or other relevant criteria, helping you stay organized and on top of your sales pipeline.
LinkedIn Sales Navigator’s Account List feature is the tool for you if you’re looking for a powerful way to keep your sales pipeline moving forward. So why not give it a try today?
How do you create and share an account list in LinkedIn Sales Navigator?
- To create an Account List in LinkedIn Sales Navigator, log in to your account and click on the “Sales Navigator” tab at the top of the page.
- Next, at the top of the Sales Navigator dashboard, click on the button for “Manage Lists.” This will include a list of your current Sales Navigator lists.
- To create a new list, click on the green “+Add New List” button near the top right corner of the page. This will bring up a form where you can enter basic details about your new list, including its name and description.
- Once you have created your list, you can add accounts by clicking on the “+Add Accounts” button next to your newly created list. You can either search for specific companies you want to add to your list or browse through recommended accounts based on information from your LinkedIn profile and previous activities in Sales Navigator.
- After adding accounts to your list, you can share it with other sales team members or colleagues outside of LinkedIn. To do this, click on the “Share List” button at the top right corner of your Sales Navigator dashboard. From there, you can choose who you want to share with and add any custom messages or notes about why this particular list is vital for them to see.
- Once your Account List is created and shared with others, you can use it to manage leads and track sales opportunities within your organization or team. You can also use it to find new prospects and stay up-to-date on key industry trends and news related to your target customers’ businesses.

If you want screenshots like this and step-by-step guides for any process, try the free Scribe .
.
Creating and sharing an account list in LinkedIn Sales Navigator is a simple process that can help you manage and stay on top of your most important prospects and customers.
First, log into your Sales Navigator account and click on the “Account List” tab. Here, you will see a list of all the accounts your saved accounts new account list, click on the “+” button at the top right corner of the page. You will then be prompted to enter a name for your new account list and select the specific accounts you want to include in this list.
Once your new list has been created, you can easily share it with other team members by clicking on the “Share” button next to the name of your account list. This will give you options for sending this list via email or posting it to other social media platforms like Twitter or Facebook.
Whether using LinkedIn Sales Navigator for lead generation or customer retention, having a robust account list can be invaluable for keeping track of all your key contacts and opportunities; with just a few simple steps, you can easily create and share an account list in Sales Navigator to help drive success in your business endeavors.
- 6 Proven Ways SaaS Founders Actually Get Customers (With Real Examples) - December 17, 2025
- Facebook Ads to Get Followers! - December 27, 2024
- ClickUp vs. Slack - December 20, 2024


